
Disclosure: As an Amazon Associate, I earn from qualifying purchases. This site also contains other affiliate links, and I may receive a commission for purchases made through these links.
How to Hang a Gallery Wall the Easy Way
Need the official rules on where and how to hang any wall art? CLICK HERE
A gallery wall can turn a plain space into something personal and stylish.
It adds character.
The best part is you can hang wall gallery without being a pro.
This simple paper-template trick lets you arrange everything before making a single hole in the wall!
Step 1: Choose the Perfect Wall
Start by deciding where your hang wall gallery will go. Look for a space that feels empty or unfinished, such as:
- Above a sofa or console table
- Along a staircase
- In a hallway
- Over a bed
- On a large dining room wall
Make sure the size of your gallery arrangement fits the furniture and space around it.
Step 2: Decide What You Want to Display
Now comes the fun part! Decide what you would like to include in your gallery wall.
You could use:
- Family photographs
- Artwork or printable designs
- Children’s drawings
- Favorite quotes
- Travel memories
- Small mirrors
- Decorative objects
- A mixture of photos and decor
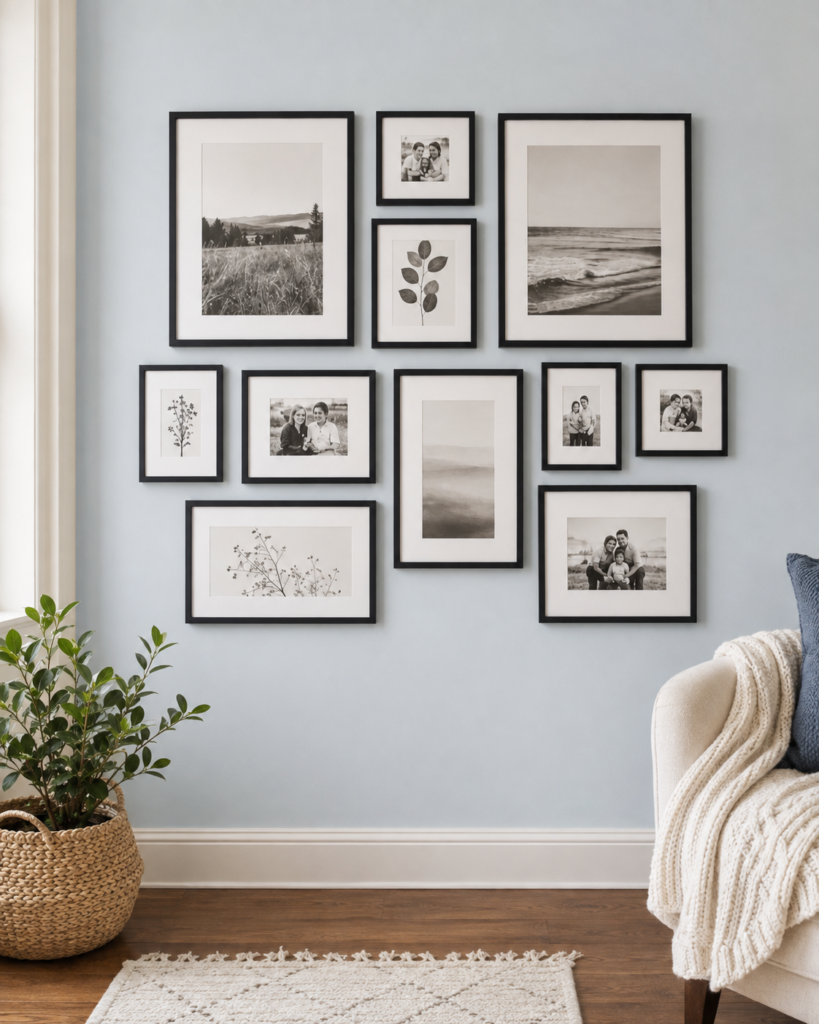
For a simple and timeless look, use meaningful family photographs printed in black and white. Mix professional portraits with casual candid moments to give the wall more personality.
You might include a wedding photo, favorite vacation memories, recent family pictures, or individual photos of each child doing something they love.
Supplies You May Need
Before getting started, gather:
- Frames
- Photos or artwork
- Brown Kraft paper
- Pencil or marker
- Scissors
- Masking tape or painter’s tape
- Measuring tape
- Level
- Nails, screws, or picture-hanging hooks
- Hammer
Step 3: Select Your Frames
Shop Some of the Highest Rated Gallery Frames HERE
Choose frames that complement your room and the overall style you want.
Matching frames create a clean and coordinated look, while mixed frames make the arrangement feel collected and unique. Black frames are classic and work beautifully with black-and-white photographs, but you could also combine wood, brass, gold, white, or natural finishes.
Do not feel like you need to purchase every frame at once. Watch for sales and gradually collect frames in different sizes. Thrift stores, discount stores, craft stores, and online frame sets are all great places to find affordable options.
Begin with one larger statement frame and build your arrangement around it using smaller frames.
Step 4: Plan the Layout
Before putting anything on the wall, arrange all your framed pieces on the floor.
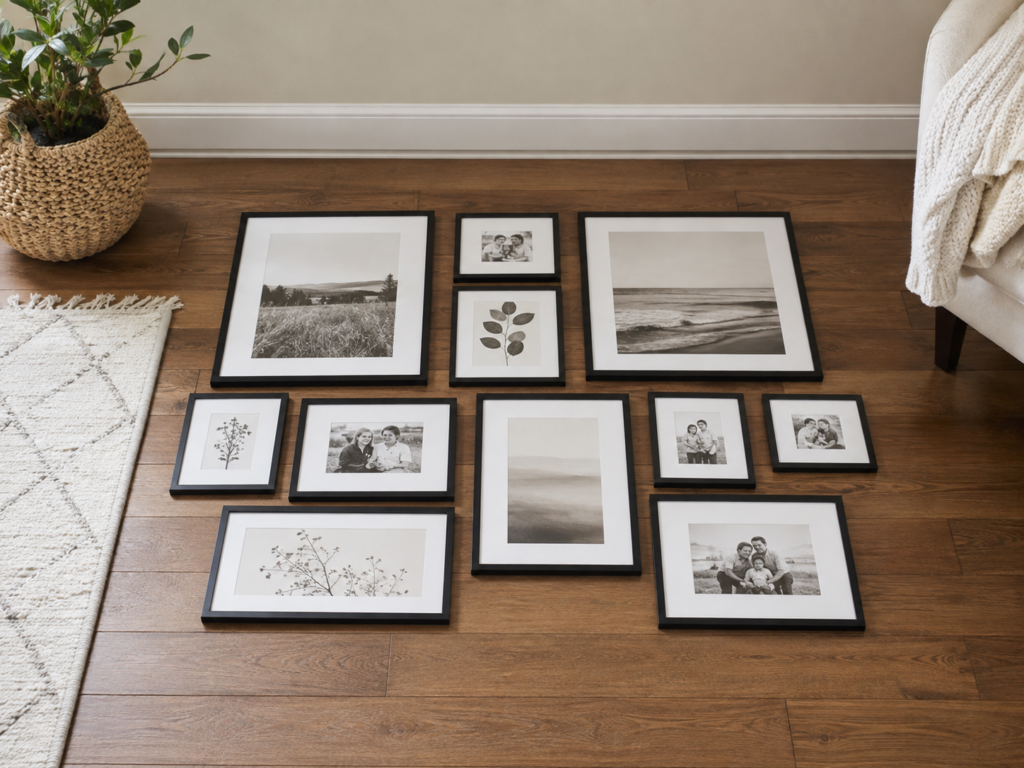
Move them around until the layout feels balanced. Additionally, place the largest frame near the center as a hang wall gallery, then arrange the smaller pieces around it.
Once you love the arrangement, take a photograph with your phone. This will give you an easy reference when you begin placing everything on the wall.
You can also draw a quick diagram showing where each frame belongs.
Step 5: Create Paper Templates
This is the little trick that makes hanging a gallery wall so much easier!
Place each frame on a sheet of Kraft paper and trace around it. Cut out the shape to create a paper template that matches the exact size of the frame.
Before moving the frame, mark the location of its hanger directly on the paper. This is especially helpful for frames that have two hooks or hangers.
Tape the paper templates to the wall using masking tape or painter’s tape. Refer to the photo or diagram of your layout as you arrange them.
Step back and look at the entire wall. Adjust the templates until the spacing and placement feel just right. This is your chance to move everything around without damaging the wall.
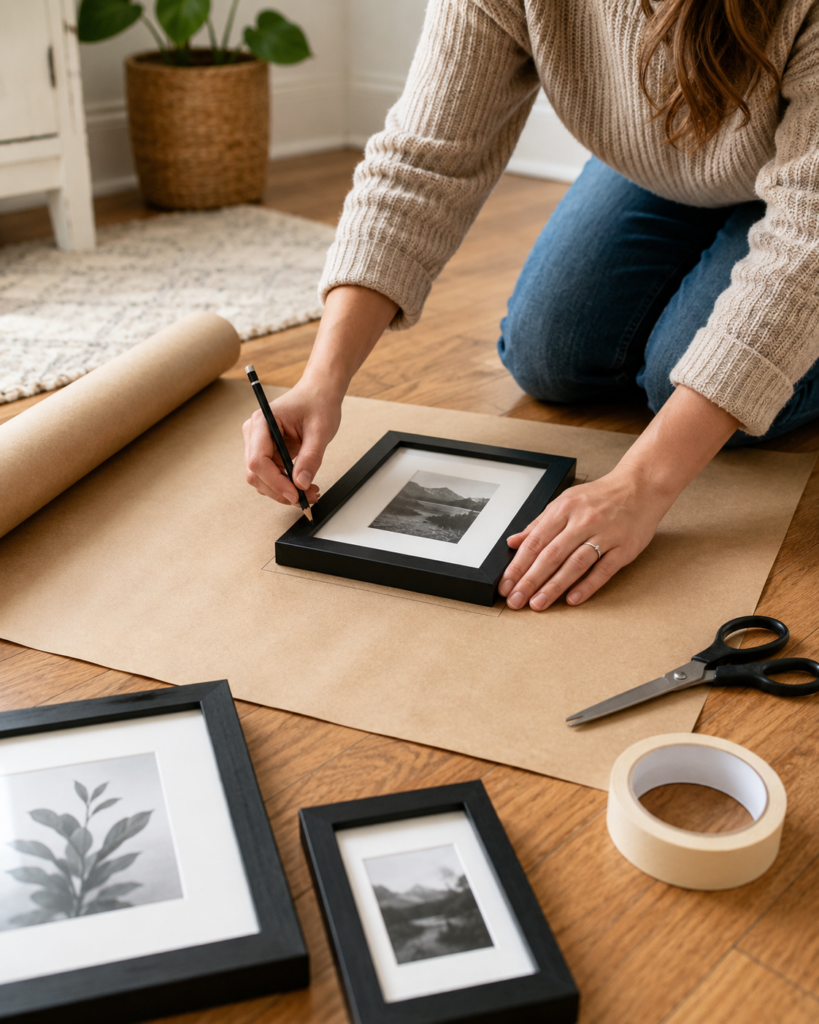
Outline each frame onto the paper
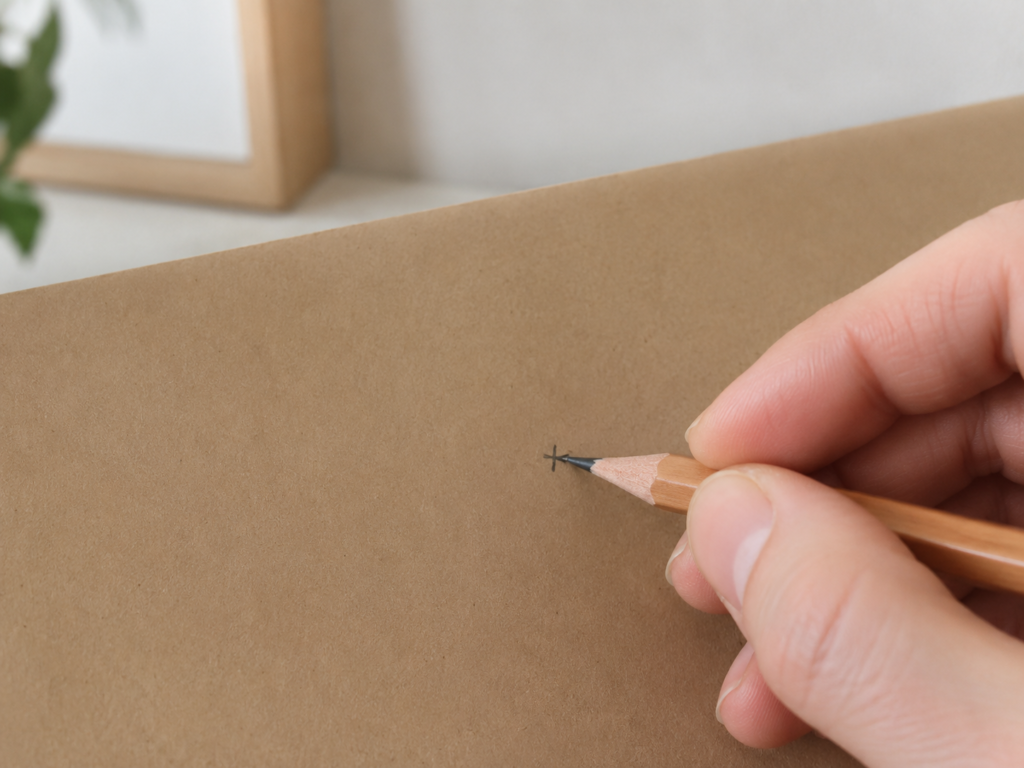
Make sure to make where the hangers are
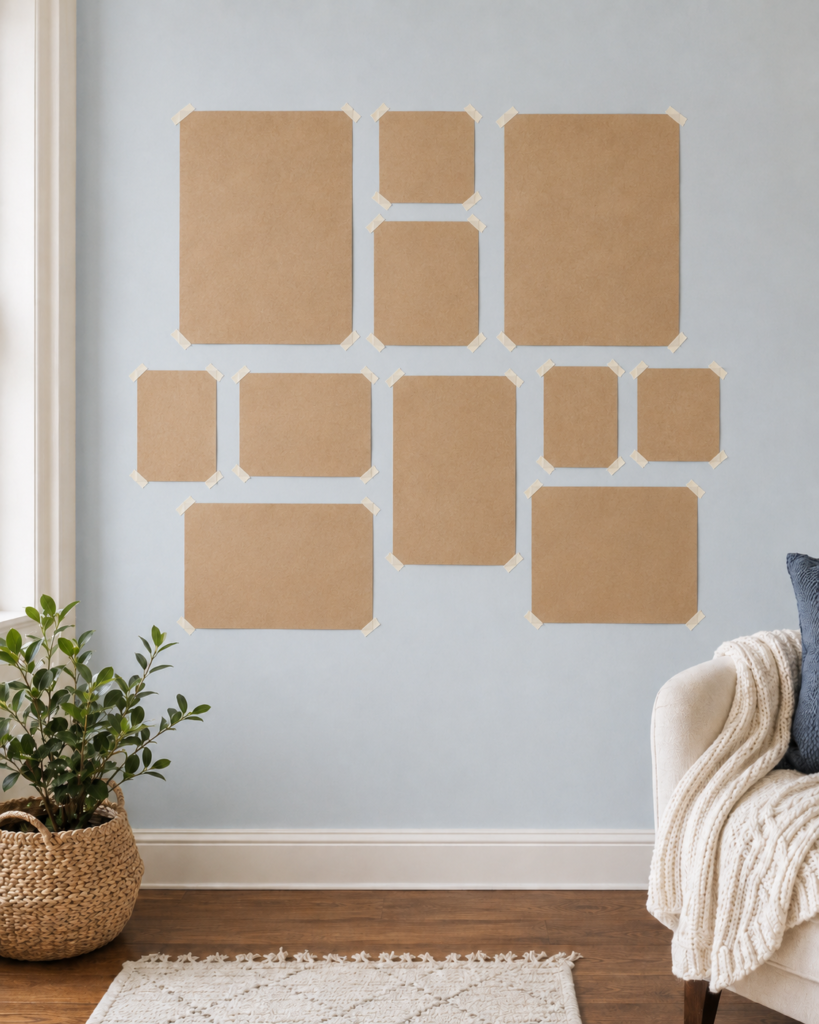
Tape the paper outlines to the wall
Step 6: Hang Your Gallery Wall
Once you are happy with the paper arrangement, you are ready to hang your frames!
Place each nail or picture hook directly through the hanger mark you made on the Kraft paper. After the nail is secure, gently tear the paper away.
Hang the corresponding frame, check that it is level, and continue until your gallery wall is complete.
No guessing, no unnecessary nail holes, and no crooked arrangement!
Oh Lala Decorating Tip
Keep the spacing between frames fairly consistent; aim for about two to three inches. Treat the entire arrangement as one artwork; center it above the furniture to form a hang wall gallery.
With a little planning and this easy paper-template method, you can create a gorgeous gallery wall filled with the people, places, and memories you love most.
