
This website contains affiliate links. This means that if you click on one of these links and make a purchase, we may receive a small commission at no additional cost to you. We only recommend products or services that we believe will add value to our readers. All opinions expressed here are our own. Your support through these links helps us keep this site running. Thank you!
Peel-and-stick wallpaper is a game-changer for renters and DIY enthusiasts alike. It’s an affordable way to transform a room without the commitment of traditional paste. However, getting that professional, bubble-free finish requires a bit of strategy. Here are 10 tips for a flawless DIY makeover.
1. Prep Your Walls
Peel-and-stick needs a clean, smooth surface. Wipe your walls with a damp cloth and let them dry completely for 24 hours before starting.
2. Order Extra
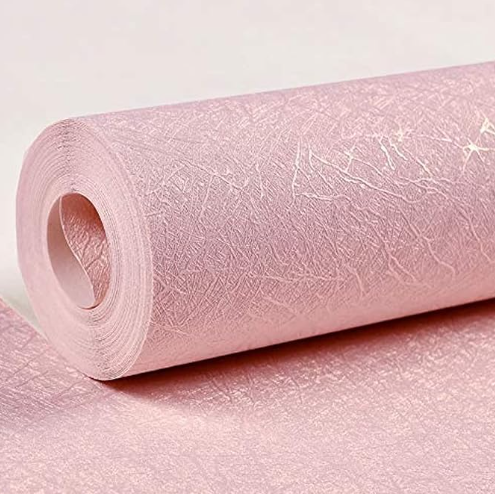
Always buy 10-15% more than you think you need. This accounts for pattern matching and any mistakes along the way. Also, pick a thick heavy paper, it makes for easy handling
3. Let the Paper Acclimate
Leave your wallpaper rolls in the room where they’ll be installed for 48 hours so they can adjust to the temperature and humidity.
4. Start with a Plumb Line
Don’t assume your corners are straight. Use a level to draw a vertical line on the wall to ensure your first panel is perfectly straight. To do this measure the width of your wallpaper, if it is 20 inches, measure 20 inches from the corner and make a mark with a pencil. Get a level and draw a vertical line down the wall (making sure its level) and this will be your guide line.
5. Peel as You Go
Never remove the entire backing at once. Peel back about 6-12 inches, align it, and smooth it down before peeling more.
6. Use a Squeegee
A plastic smoothing tool or squeegee is essential for pushing out air bubbles from the center toward the edges.
7. Overlap Slightly
Peel-and-stick can shrink slightly over time. Overlapping the seams by about 1/20th of an inch prevents gaps from appearing later.
8. Use a Sharp Blade
Dull blades tear the paper. Use a fresh utility knife blade for every few cuts to ensure clean edges at the ceiling and baseboards.
9. Don’t Stretch the Material
If you pull too hard to align the paper, it will eventually snap back to its original shape, causing seams to pull apart.
10. Keep a Pin Handy
If you find a stubborn air bubble that won’t move, use a tiny pin to prick it and push the air out. The hole will be invisible!
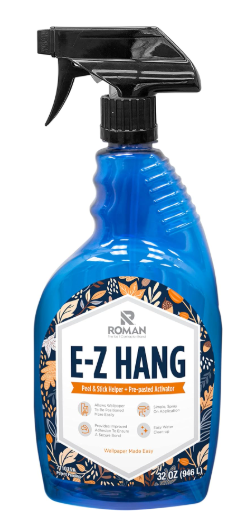
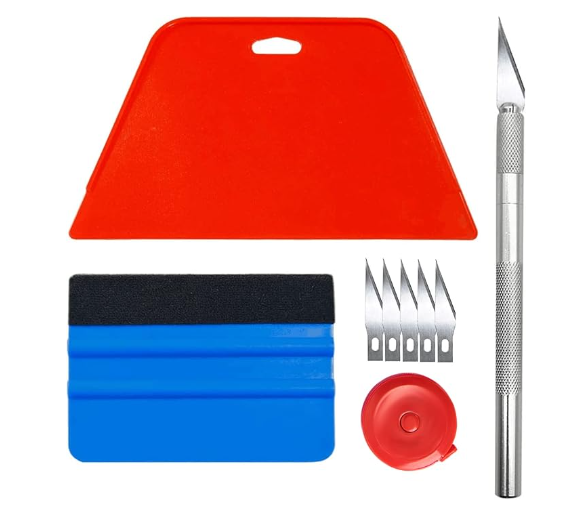
There are plenty of videos to watch to help you get this right the first time!!!