
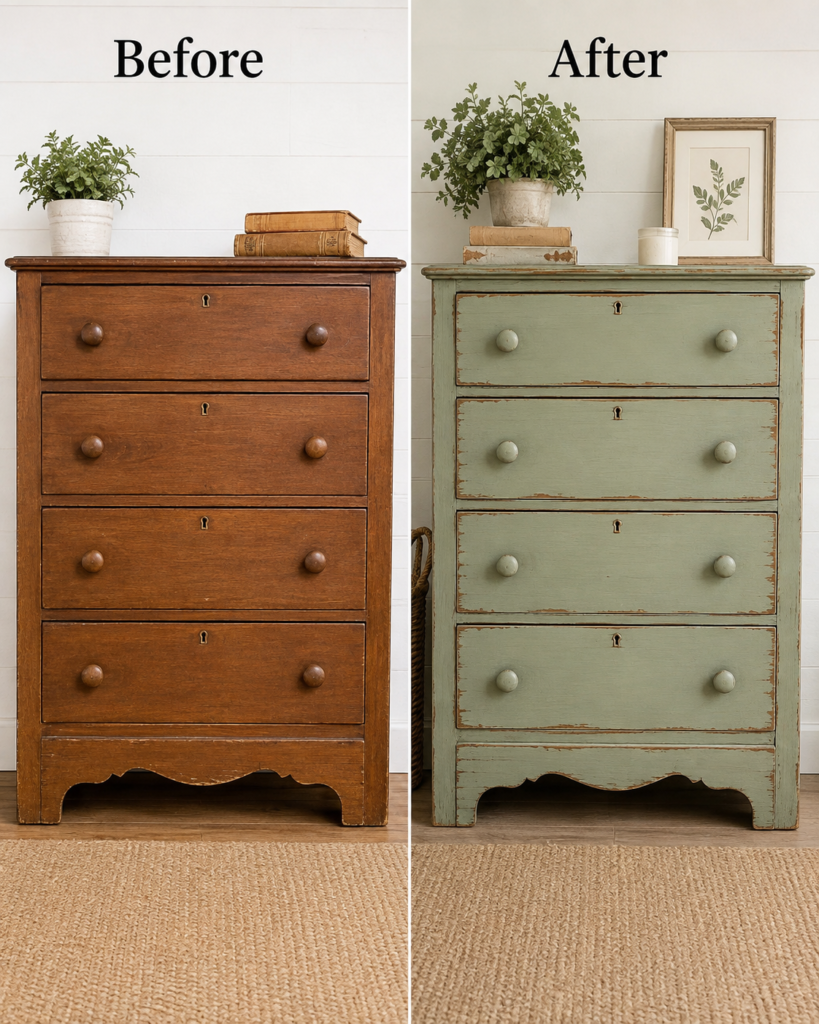
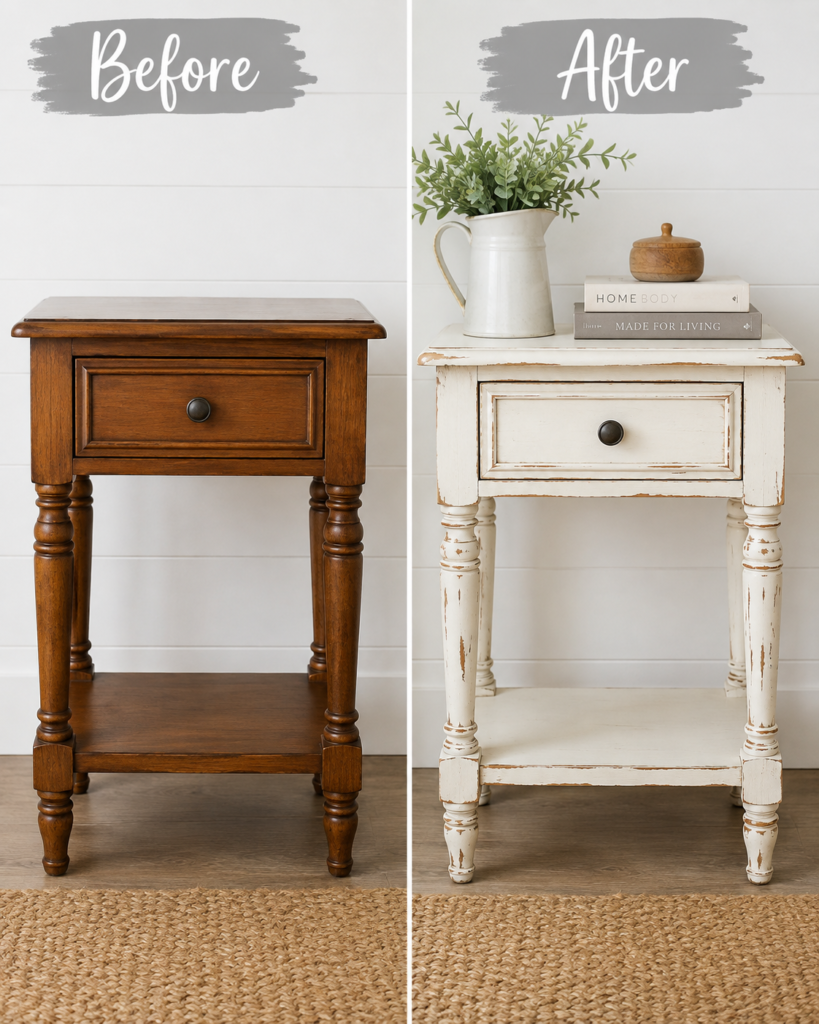
Before & After: How to Distress Painted Wood With Vaseline
Do you want that perfectly imperfect, aged, chippy furniture look without hours of sanding? Moreover, dISTRESSING wOOD WITH VASELINE is one of the easiest ways to achieve a worn, vintage finish.
This simple technique is dISTRESSING wOOD WITH VASELINE, applying petroleum jelly to areas where you want paint to chip.
Thus, the paint won’t stick to the Vaseline, so you can wipe it away and reveal the wood underneath.
It’s a great trick for thrift store furniture makeovers, farmhouse decor, shabby chic pieces, picture frames, cabinets, tables, dressers, and more.
What You’ll Need
- Wooden furniture or decor piece
- Paint for your base coat
- A contrasting paint color for the top coat
- Vaseline or petroleum jelly
- Small paintbrush or cloth
- Rag or paper towels
- Optional: sandpaper
- Optional: clear wax or protective topcoat
Step 1: Prepare Your Wood
Start with a clean, dry surface. Remove any dirt, grease, dust, or loose finish.
If the piece is extremely shiny or rough, lightly sand it first so your base coat has something to grip onto.
Step 2: Paint Your Base Color
Paint the entire piece with the color you want to eventually show through the distressed areas.
You can use regular furniture paint, chalk-style paint, latex paint, or even spray paint. Spray paint can be especially convenient because it goes on quickly and evenly.
Let the base coat dry completely.
Oh Lala Tip: Choose two colors that contrast with each other if you want the distressed areas to really stand out. You can also use the original wood as your base if you want natural brown wood showing through.
Step 3: Add the Vaseline
Once your base coat is dry, take a very small amount of Vaseline on a paintbrush, cloth, or even your fingertip.
Apply it anywhere furniture would naturally show wear, including:
- Corners
- Outer edges
- Drawer edges
- Raised details
- Around knobs or handles
- Legs and feet
This is where you get to control how distressed your finished piece will look.
A tiny amount of Vaseline creates subtle worn spots, while a heavier amount creates larger areas where the topcoat will come away.
Try not to leave large globs unless you intentionally want a dramatic chipped-paint effect.
Step 4: Apply Your Top Color
Paint your second color over the entire piece, including the areas where you applied the Vaseline.
Don’t worry if the paint looks slightly uneven or bumpy over those spots. That is exactly what you want.
You can brush, roll, or spray the topcoat. Spray paint is especially easy for this technique because you can apply it without disturbing the Vaseline underneath.
Allow the topcoat to dry.
Step 5: Reveal the Distressed Finish
Now comes the fun part!
Using a rag or paper towel, gently rub the corners, edges, and other areas where you applied Vaseline.
The top layer of paint should come away easily, revealing the base color or original wood underneath.
You’ll instantly start seeing that beautiful aged, weathered, naturally worn look.
If you want even more distressing, lightly sand a few additional edges after the paint has dried.
Step 6: Protect Your Finish
Once you’re happy with the look, wipe the piece clean and allow everything to dry completely.
For furniture that gets regular use, consider protecting your makeover with a clear furniture wax or compatible protective topcoat.
The Before & After Difference
Before, your piece might look like plain stained wood or a piece of furniture painted in one flat color.
After Vaseline distressing, you get:
- Beautiful worn edges and corners
- Layers of color peeking through
- An authentic-looking chipped finish
- Added character and depth
- Vintage farmhouse or shabby chic charm
And the best part? You control exactly where the distressing happens.
Why I Love This Furniture Painting Trick
Instead of sanding and sanding until you accidentally remove too much paint, Vaseline lets you decide beforehand where the worn areas will appear.
It’s inexpensive, beginner-friendly, and perfect for giving an ordinary thrift store find that “Where did you find that antique?” look.
Oh Lala Tip: For a subtle finish, use Vaseline very sparingly. For a heavily aged, chippy look, apply a little more in selected areas—but keep it irregular so the distressing looks natural rather than perfectly even.
Sometimes the best furniture makeovers aren’t about making something look brand new. They’re about giving it a little history—even if you have to fake that history with a jar of Vaseline!
Be sure to check out my other Home Decor Ideas and tips!! CLICK HERE
