
This website contains affiliate links. This means that if you click on one of these links and make a purchase, we may receive a small commission at no additional cost to you. We only recommend products or services that we believe will add value to our readers. All opinions expressed here are our own. Your support through these links helps us keep this site running. Thank you!
Creating a gallery wall is one of the best ways to infuse personality into your home. Whether it’s a collection of family photos, travel souvenirs, or fine art, a well-executed gallery wall acts as a focal point for any room. Here are 7 steps to help you design yours like a pro.
7 Steps to Designing the Perfect Gallery Wall
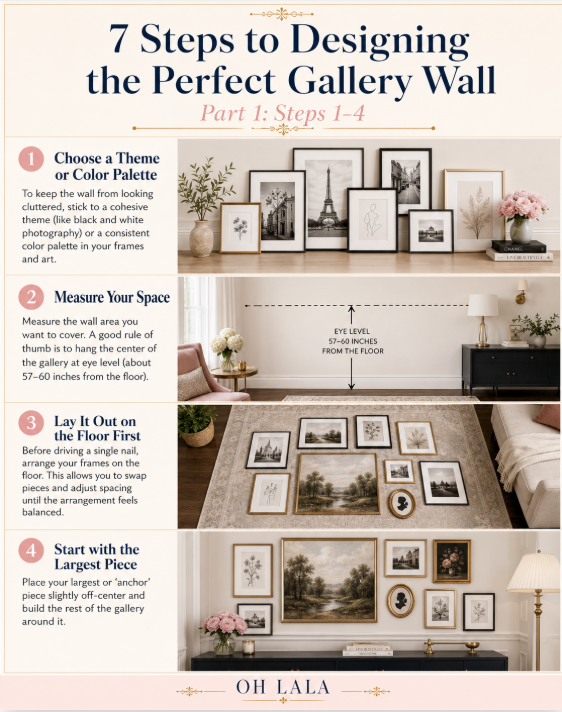
1. Choose a Theme or Color Palette
To keep the wall from looking cluttered, stick to a cohesive theme (like black and white photography) or a consistent color palette in your frames and art.
2. Measure Your Space
Measure the wall area you want to cover. A good rule of thumb is to hang the center of the gallery at eye level (about 57-60 inches from the floor).
3. Lay It Out on the Floor First
Before driving a single nail, arrange your frames on the floor. This allows you to swap pieces and adjust spacing until the arrangement feels balanced.
4. Start with the Largest Piece
Place your largest or “anchor” piece slightly off-center and build the rest of the gallery around it.
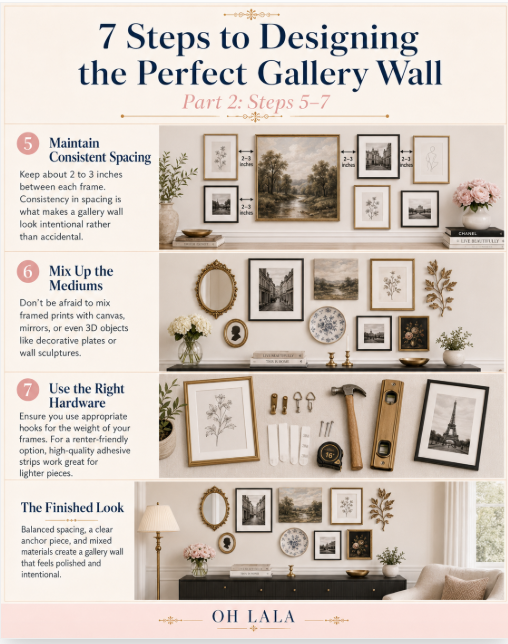
5. Maintain Consistent Spacing
Keep about 2 to 3 inches between each frame. Consistency in spacing is what makes a gallery wall look intentional rather than accidental.
6. Mix Up the Mediums
Don’t be afraid to mix framed prints with canvas, mirrors, or even 3D objects like decorative plates or wall sculptures.
7. Use the Right Hardware
Ensure you use appropriate hooks for the weight of your frames. For a renter-friendly option, high-quality adhesive strips work great for lighter pieces.